n = [1.5,2.5]
d = [0.2,500]
settings = fd.fdtd_settings(2500.,16.,d,n)fdtd_python
A python package to run fdtd simulations
Developer Guide
If you are new to using nbdev here are some useful pointers to get you started.
Install fdtd_python in Development mode
# make sure fdtd_python package is installed in development mode
$ pip install -e .

# make changes under nbs/ directory
# ...

# compile to have changes apply to fdtd_python
$ nbdev_prepare
Usage
Installation
Install latest from the GitHub repository:
$ pip install git+https://github.com/gbeane66/fdtd_python.gitor from conda
$ conda install -c gbeane66 fdtd_pythonor from pypi
$ pip install fdtd_pythonDocumentation
Documentation can be found hosted on this GitHub repository’s pages. Additionally you can find package manager specific guidelines on conda and pypi respectively.
How to use
Define the refractive index and thickness of the layers in the simulation. The refractive index is defined as a list of floats, and the thickness is defined as a list of floats. The length of the two lists must be equal.
n = [1.5, 2.5]  # refractive index of the layers
d = [0.2, 500]  # thickness of the layers in micrometers
The fdtd settings class is used to define the simulation settings. The class takes the following parameters: - simulation_time: The total time of the simulation in picoseconds. - simulation_size: The size of the simulation in micrometers. - d: The thickness of the layers in micrometers. - n: The refractive index of the layers.
The simulation is then run using the function is then run using the function fdtd_run:
wavelength = 600  # wavelength in micrometers
N_w = 100  # number of points per wavelength
settings = fd.fdtd_settings(2500., 16., d, n)
fd.fdtd_run(wavelength, N_w, settings)
length_array, time_array, E_field = fd.fdtd_run(600, 100, settings)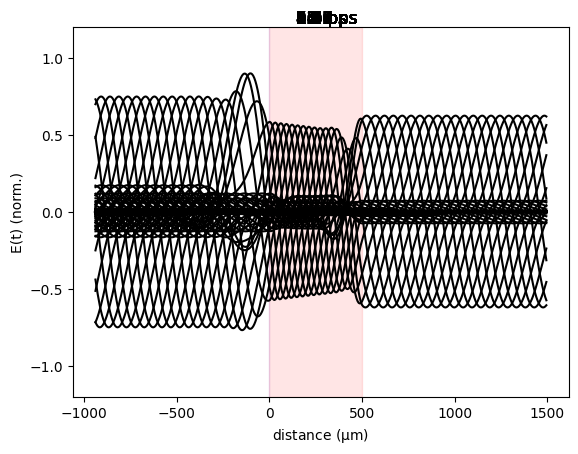
np.shape(E_field)(407, 800)import matplotlib.pyplot as plt
fig,ax = plt.subplots()
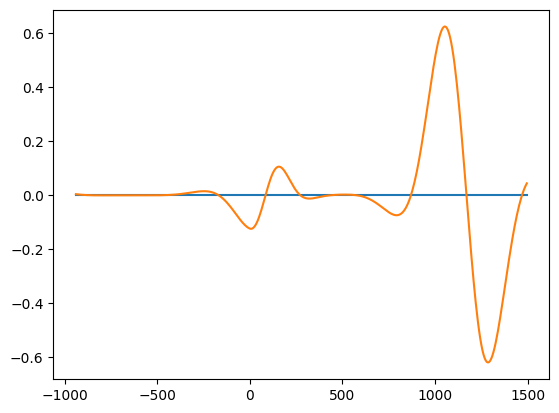
ax.plot(length_array, E_field[:,0], label='E-field at t=0')
ax.plot(length_array, E_field[:,600], label='E-field at t=0')